Difference between revisions of "Removing the block of own IP by SSH"
From BrainyCP
| Line 1: | Line 1: | ||
| + | <div data-placeholder="Перевод" dir="ltr" id="tw-target-text">IP blocking is used to protect against unauthorized access to the control panel. How to set it up is written in the instructions. [https://docs.brainycp.io/index.php/Защита_панели_BrainyCP_от_несанкционированного_доступа "Protecting panel BrainyCP оfrom an unauthorized access"]. </div> <div data-placeholder="Перевод" dir="ltr">If for some reason you have blocked the entry for your IP (for example, mixing up the "Deny" and "Allow" fields), the best solution would be to go under a different IP. If this is not possible, you can remove the login ban using SSH. For this you need:</div> <div data-placeholder="Перевод" dir="ltr">1. Putty utility.<br/> 2. IP, login and password sent by the hosting provider to your e-mail.</div> | ||
| + | To disable self-IP blocking, follow these steps: | ||
| − | + | Connect via SSH using the IP address you use to log into BrainyCP.<br/> <br/> 1. Fill in the login as root (username) and root @ IP address password (password) fields.<br/> 2. Enter the command: '''yum -y install nano'''<br/> 3. Enter the command: '''nano /etc/brainy/src/compiled/nginxb/conf.d/properties.conf'''<br/> 4. Delete your IP and then press '''ctrl + x -> Y -> enter.'''<br/> 5. Enter the command: '''service nginxb restart''' | |
| − | |||
| − | |||
| − | |||
| − | |||
| − | |||
| − | |||
| − | |||
| − | |||
| − | |||
| − | |||
| − | |||
| − | |||
| − | |||
| − | |||
[[File:2019-08-30 14-26-43.png|border|2019-08-30 14-26-43.png]] | [[File:2019-08-30 14-26-43.png|border|2019-08-30 14-26-43.png]] | ||
| − | + | <div data-placeholder="Перевод" dir="ltr" id="tw-target-text">Go to the control panel. If everything is done correctly, you will see an authorization form:</div> | |
| − | + | [[File:2020-12-24 15-25-10.png|border|2020-12-24 15-25-10.png]] | |
| − | |||
| − | [[File:2020-12-24 15-25-10.png|border]] | ||
Revision as of 23:53, 8 April 2021
IP blocking is used to protect against unauthorized access to the control panel. How to set it up is written in the instructions. "Protecting panel BrainyCP оfrom an unauthorized access".
If for some reason you have blocked the entry for your IP (for example, mixing up the "Deny" and "Allow" fields), the best solution would be to go under a different IP. If this is not possible, you can remove the login ban using SSH. For this you need:
1. Putty utility.
2. IP, login and password sent by the hosting provider to your e-mail.
2. IP, login and password sent by the hosting provider to your e-mail.
To disable self-IP blocking, follow these steps:
Connect via SSH using the IP address you use to log into BrainyCP.
1. Fill in the login as root (username) and root @ IP address password (password) fields.
2. Enter the command: yum -y install nano
3. Enter the command: nano /etc/brainy/src/compiled/nginxb/conf.d/properties.conf
4. Delete your IP and then press ctrl + x -> Y -> enter.
5. Enter the command: service nginxb restart
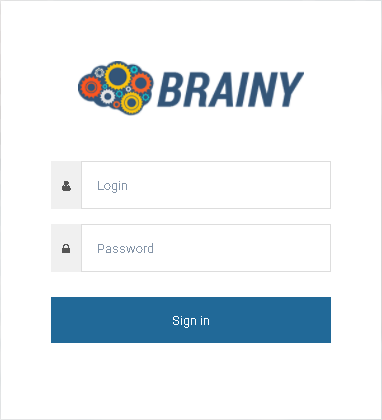
Go to the control panel. If everything is done correctly, you will see an authorization form:

